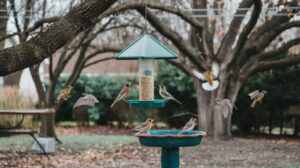
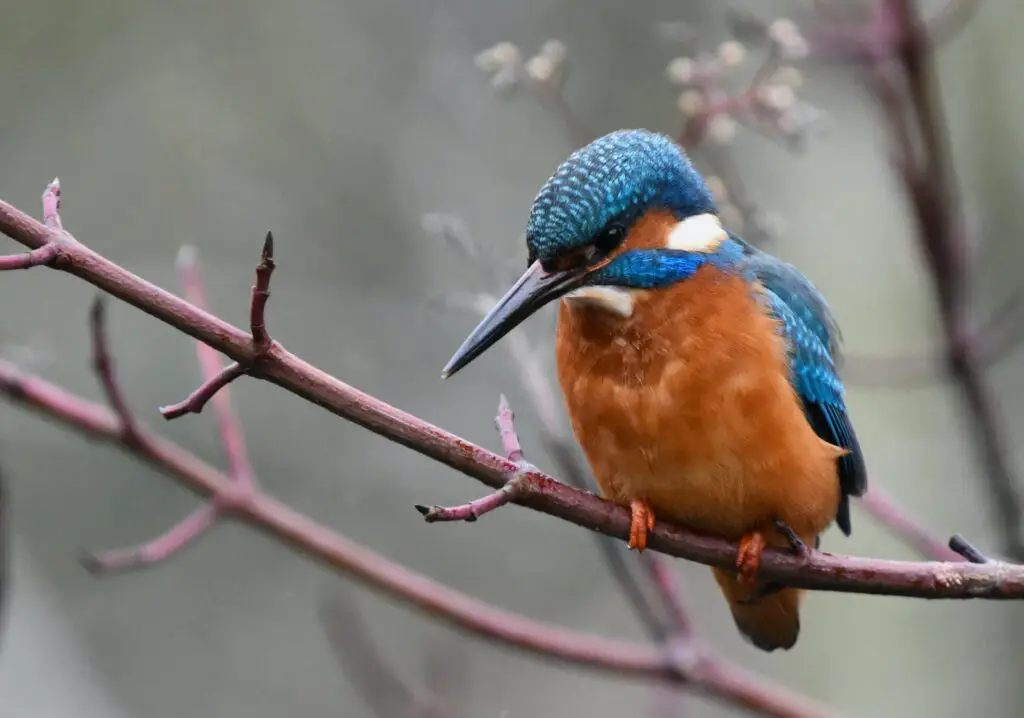
I’ve been bitten by the wildlife photography bug! There’s something magical about capturing incredible animal shots in the moment when you’re out in nature. Getting those spectacular photos that make your jaw drop though – easier said than done as a beginner, right? Well I’m here to share my top beginner tips I’ve discovered through plenty of trial and error for getting awesome wildlife pics every time.
From picking the best camera settings to learning techniques for sneaking up on your furry or feathered subjects without disturbing them too much, you’ll have insider knowledge for taking your shots to the next level in no time. Get ready to capture some crazy good animal photos that you can proudly show off after reading this!
Gear Up for Wildlife Photography Success
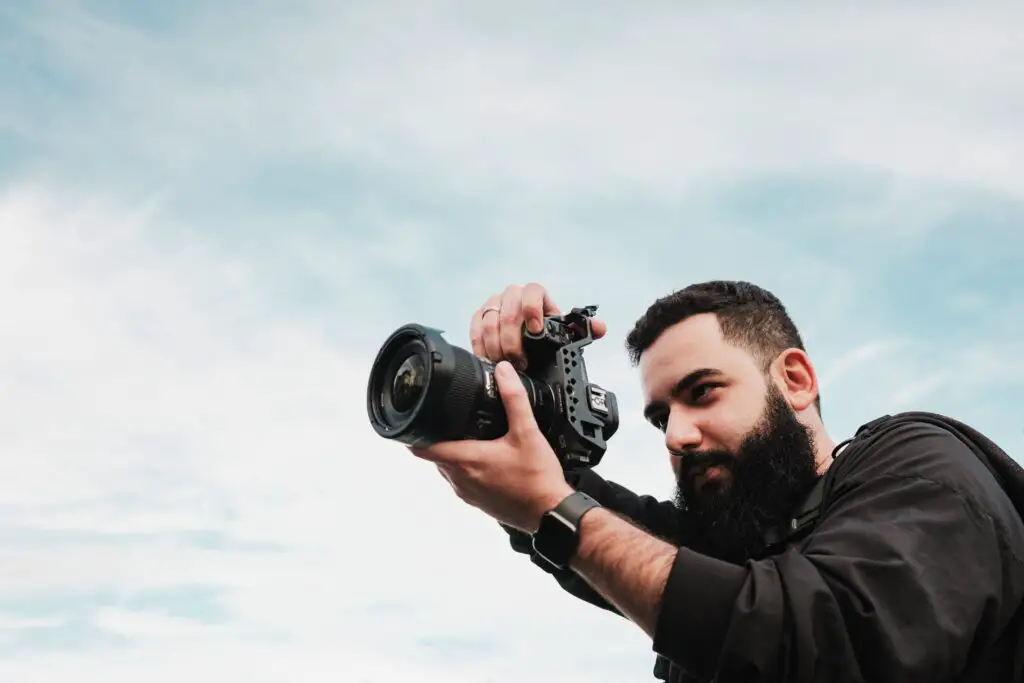
To capture stunning animal photos, you’ll need the right gear. As an avid wildlife photographer, I’ve invested in equipment that helps me get up close and personal with nature. Here are a few essentials to get you started:
A long zoom lens is a must. I use a 100-400mm zoom lens which allows me to zoom in on animals from a distance without disturbing them. The farther away you can be, the better for wildlife. A zoom lens gives you the flexibility to frame your subject just right.
A fast camera with a high burst rate is ideal for capturing action shots. My DSLR can shoot up to 10 frames per second, which comes in handy when birds are flying or animals are running. More frames mean more chances to get that perfect pose or expression.
A sturdy tripod keeps your camera steady. When zoomed in, even the smallest movements are magnified. A tripod eliminates blur from camera shake so your photos are crisp and clear. I bring my tripod on every shoot.
Spare batteries are a lifesaver since you’ll be far from power sources. I pack at least two extras so I’m never caught without juice for my camera and flash.
A flash helps when there’s low light or shadows. The pop of light will brighten your subject and add a catchlight to eyes. Just be careful not to startle the animals with a flash. I only use mine occasionally and from a distance.
Memory cards with lots of storage let you keep shooting. Since I never know how many photos I’ll take, I bring several high-capacity cards. It’s better to have too much storage than to run out of space!
With the right gear and lots of patience, you’ll be ready to start capturing amazing wildlife photos. The more you practice, the more your skills will grow. Soon you’ll be getting shots that belong in National Geographic! Happy shooting!
Master Your Camera Settings for Sharp Animal Photos
Wildlife moves fast, so if you want tack-sharp photos, you need to master your camera settings. The three most important settings for wildlife photography are:
- Shutter speed: Use a fast shutter speed, like 1/500 sec or faster. This will freeze the action and give you crisp images. Slow shutter speeds will result in blurry photos from motion.
- Aperture: Choose a mid-range aperture, between f/4 to f/8. A wider aperture like f/2.8 can give you a shallow depth of field, making it hard to get your subject in focus. A narrow aperture like f/16 requires slower shutter speeds to properly expose the image. Mid-range is the sweet spot.
- ISO: Use the lowest ISO you can while still achieving a fast enough shutter speed. Higher ISOs introduce digital noise that can ruin fine details. For most daytime wildlife shots, ISO 200 to 800 will work great. At dawn and dusk, you may need to go up to ISO 1600 or 3200.
With these three settings optimized, you’ll be snapping professional-looking wildlife photos in no time! The key is practicing to get a feel for how the settings interact. Take lots of photos at different setting combinations to build up your experience.
Don’t forget to turn on continuous autofocus so your camera tracks the moving subject, and continuous shooting mode to capture fleeting moments. I use back-button focus, personally, as I’ve found it gives me more control. Give it a try!
Most importantly, get out in nature and start photographing those wild animals! There’s no better way to learn wildlife photography than getting hands-on experience. Your photos may not all turn out perfect at first, but with regular practice, your skills will improve dramatically. So grab your camera, head outside, and start snapping photos of birds, deer, foxes, or whatever wild animals live in your area. Your inner wildlife photographer will thank you!
Field Techniques – How to Get Close Without Disturbing Your Subject
When I first started wildlife photography, getting close enough to my subject was the biggest challenge. But with patience and the right techniques, you can capture stunning close-up photos of animals in their natural habitat.
Move slowly and stay low.
Creep forward inch by inch while crouching or even crawling to avoid detection. Sudden movements will startle your subject. Staying low to the ground also makes you appear less threatening. I’ve inched as slowly as 5 minutes to move just a few feet! With patience, some subjects may eventually ignore your presence.
Camouflage yourself.
Wear earth-toned clothing that blends into the environment. Break up your silhouette by using a blind, camouflage netting, or natural foliage. Animals have sharp eyesight attuned to detecting predators. The more you blend in, the closer you can get before alarming them.
Be quiet.
Stealth is key. Move deliberately and avoid stepping on twigs or brush that could make noise. Whisper or remain silent when near animals. Loud noises like talking will startle most wildlife and send them fleeing before you have a chance to get your shot.
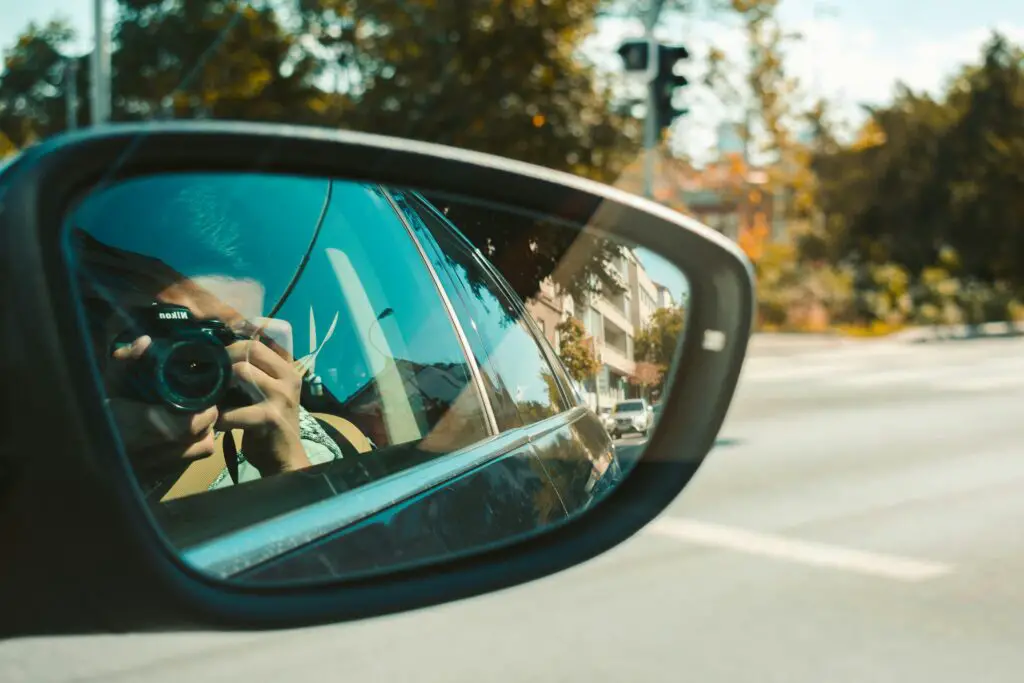
Photograph from a vehicle.
For skittish subjects, photographing from a vehicle allows you to get close while providing a blind. Roll down your window or open a door just enough to get your lens out. The familiar shape of a vehicle may also be less frightening to some animals. Just be ready to act fast, as most subjects won’t remain for long once they notice you.
With practice, these techniques will become second nature. Don’t get discouraged if your first attempts are unsuccessful. Like all worthwhile pursuits, wildlife photography takes patience. But when you do capture that stunning close-up portrait after hours of sneaking about, all the effort will have been well worth it! Stick with it and you’ll be a pro in no time.
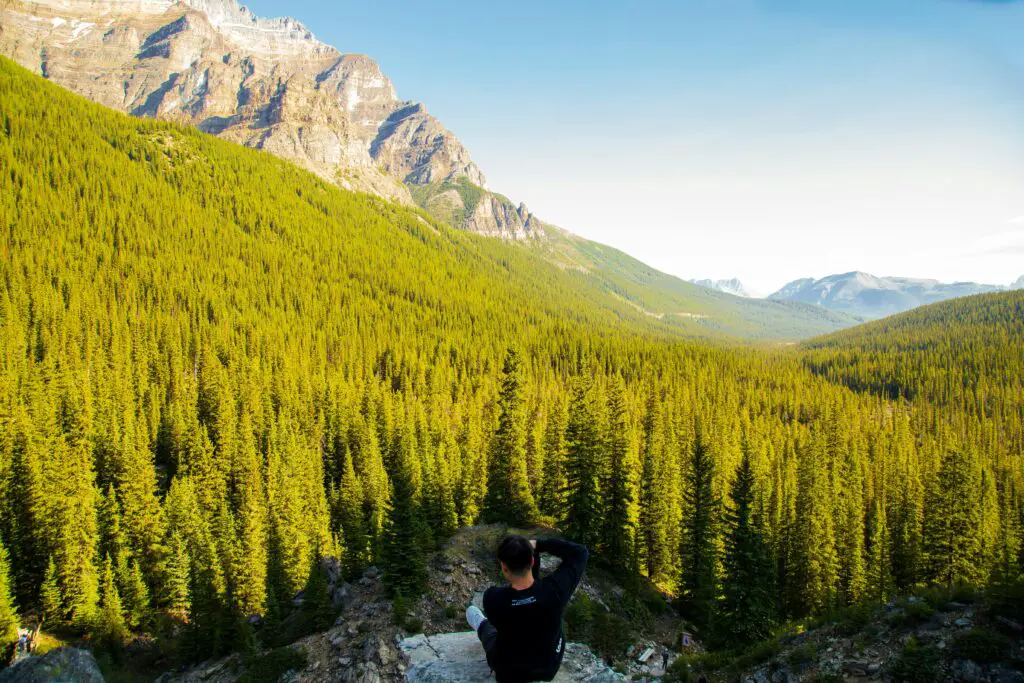
Choose the Best Locations and Times for Wildlife Photography Tips
As an avid wildlife photographer, one of the keys to getting spectacular animal shots is positioning yourself in the right place at the right time. I’ve learned through trial and error the best ways to set myself up for success.
The first thing I do is scout locations where I know wildlife frequents. State and national parks are perfect, as are nature preserves and wildlife refuges. Within these areas, look for spots like lakes, streams, meadows, and mountain vistas where animals tend to gather and you’ll have an unobstructed view. I get there early to scope out the scene and see where the subjects of my photos are most active.
Timing is everything in wildlife photography. Most animals are most active during the early morning and evening twilight hours. This golden light is also perfect for photography, so do your best to be in position during the magic hours of sunrise and sunset. The soft, warm glow will illuminate your subject in the most flattering way.
Another tip is to check the local weather and moon phases. Animals tend to be more active in overcast or rainy weather. And a full moon means nocturnal animals like owls may be out hunting. I pack my gear the night before so I can head out at a moment’s notice if the conditions are looking prime.
With practice and patience, you’ll get a sense of when and where the wildlife in your area is most active and accommodating to photographers. Don’t get discouraged if you come back with more out-of-focus shots than portfolio-worthy photos at first. Keep at it, study your subjects’ habits, and your wildlife photography skills are sure to improve by leaps and bounds! The results will be well worth waking up at the crack of dawn to catch that perfect shot.
Post-Processing Tips for Impactful Wildlife Images
I love getting out in nature and capturing photos of animals in their element. However, the real magic happens when I get back to my computer for post-processing. A few simple edits can turn a good photo into a jaw-dropping one. Here are my top tips for enhancing your wildlife shots:
- Adjust the exposure. Wildlife often moves quickly, and it can be hard to nail the exposure in camera. Don’t be afraid to brighten or darken your photo so the subject is well-lit. I usually use the exposure slider in Lightroom to make minor adjustments.
- Boost the contrast. Increase the contrast to add drama and make your subject pop. The clarity slider in Lightroom is perfect for this. Add contrast sparingly, though, as too much can make a photo look unnatural.
- Sharpen the details. Use the sharpening tools to crispen details like fur, feathers, eyes, and other textures. The sharpening slider in Lightroom works well for overall sharpening. For more precise sharpening, use the adjustment brush to paint over specific areas.
- Remove distractions. Use the spot removal or clone stamp tool to eliminate any distracting elements like stray branches, litter, or buildings. Keep the background clean and clutter-free so all eyes are on your subject.
- Color correct. Adjust the white balance to ensure accurate and vibrant colors. I like to use the white balance dropper to select a neutral tone in the photo to set the correct temperature. You can also use the HSL sliders to make targeted color adjustments to foliage, skies, and other elements.
- Crop for composition. Cropping is one of the most useful post-processing techniques. Tighten the composition around your subject or reframe the shot for a more compelling composition. Cropping in closer on your subject also makes the details more prominent.
With a bit of practice, these techniques will become second nature and help you create impactful wildlife photos that make a lasting impression. Get out and shoot—your perfect wildlife photo is waiting!
Conclusion
Well there you have it – my top beginner wildlife photography tips for capturing stunning animal photos! I hope these pointers on gear, technique, lighting, composition, and editing inspire you to get out into nature and start honing your skills. Don’t get discouraged if your first attempts don’t turn out perfectly. It takes time and practice to develop an eye for wildlife photography.
But with patience and persistence, you’ll be thrilled at the incredible shots you can get! Now grab your camera and let’s go make some magic happen! I can’t wait to see all the fantastic photos you’ll take using these tips. The animal kingdom is calling – so let’s answer by telling its story beautifully through our lenses! Go get ’em!