Grab your camera and lace up your hiking boots – we’re going on an adventure! As a passionate nature lover and landscape photographer, I can’t wait to share my best tips for capturing jaw-dropping shots of mountains, forests, deserts, and more. With the right techniques, timing, and lots of patience, your photos will look like they belong in National Geographic. Whether you’re just starting out or looking to improve your skills, this guide has something for every level.
Equipped with my camera bag essentials and an eye for beauty, let’s set out to stunning vistas near and far. I’ll reveal my strategies for scouting locations, optimal shooting conditions, using lighting and angles to your advantage, and post-processing that perfect shot. Just imagine displaying your brilliant landscape images to rave reviews from friends and family. So what are you waiting for? Let’s go make some magic!
Gear Up for Nature Photography tips
Are you ready to capture stunning landscape shots? I sure hope so! There’s nothing quite like being out in nature, snapping photos of beautiful vistas and natural wonders. To get started, you’ll want to invest in some essential gear.
A decent DSLR or mirrorless camera should be at the top of your list. Look for one that can capture lots of megapixels so you have flexibility to crop and print large photos. You’ll also want a variety of lenses, like a wide-angle and telephoto zoom lens. The wide-angle is great for epic landscape scenes, while the telephoto zoom allows you to hone in on specific details from a distance.
Don’t forget extra batteries and memory cards. There’s nothing worse than your battery dying or card filling up just as the perfect shot presents itself! I like to bring multiple fully-charged batteries and blank memory cards to avoid missing any photo ops.
A sturdy tripod is a must for landscape photography. It allows you to take sharp photos even in low light conditions. Look for a lightweight but stable tripod that can support your camera setup. I prefer carbon fiber tripods for their durability and portability.
You’ll also want useful accessories like polarizing filters to reduce glare, lens hoods for lens protection, remote shutter releases to avoid camera shake, and lens cleaning supplies to keep your gear in tip-top shape.
With some essential gear in your bag, you’ll be all set to head out to stunning locations and capture magnificent landscape shots. The opportunities are endless, whether you want to photograph rolling hills, crashing waves, golden sunrises or fiery sunsets. Get out and enjoy the beauty of nature through your camera lens! The memories and photos you create will surely last a lifetime.
Scouting Locations for Stunning Landscape Shots
I just love discovering hidden gems in nature and capturing their beauty with my camera! To find the perfect spot for landscape photography, I make it a point to do some location scouting. Here are a few of my tips for finding ideal places to shoot:
One of my favorite ways to scout locations is to get out and explore the area by hiking or driving around. This allows me to stumble upon scenic overlooks, rocky cliffs, winding rivers and misty waterfalls that I never knew existed! I always have my camera with me so I can take some test shots to see how the lighting and composition look. Sometimes a spot that looks gorgeous to the naked eye just doesn’t translate well in a photo, so testing it out is key.
Another approach is to do some research online to identify places that seem promising for photography within a certain region. I search for terms like “scenic trails,” “panoramic views” or “photogenic landmarks” along with the location I want to shoot. Travel blogs, tourism websites and photo sharing sites are great resources for finding stunning locations that may be off the beaten path. Once I have a list of places that interest me, I add them to my GPS so I can easily navigate there.
A third tip is to check if there are any permits required for commercial photography or filming before heading out. Some state and national parks require permits, especially if you’re using a drone. It’s best to look into the rules ahead of time so you avoid any issues. Permits also allow you to access areas that may be closed off to the general public.
With some pre-planning and an adventurous spirit, you’ll be capturing dramatic landscapes and vibrant vistas in no time! Exploring the area, doing online research and obtaining proper permits are all part of the fun in finding the perfect spot for your next photo shoot. Now get out there and happy location scouting!
Mastering Composition and Framing
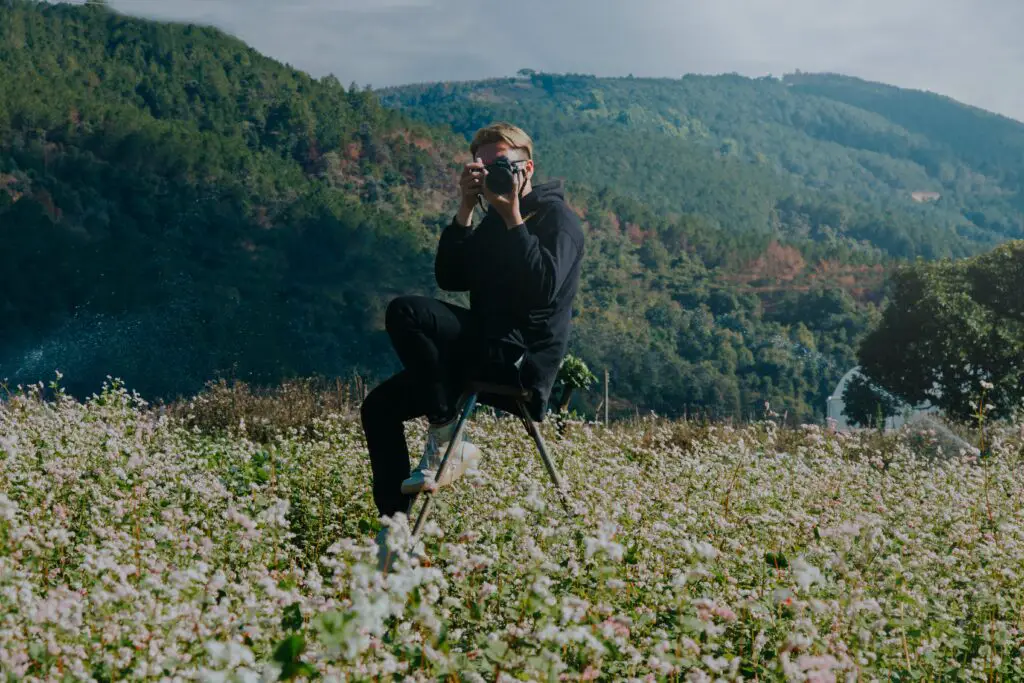
I absolutely love playing around with different compositions and framing when shooting landscapes! As a photographer, framing a scene in new and exciting ways really gets my creative juices flowing. Here are a few of my favorite techniques for composing stunning landscape shots:
Rule of Thirds
The Rule of Thirds is a simple guideline that helps create balanced and interesting compositions. Imagine a 3×3 grid over your scene. Place important elements like the horizon or focal point at the intersection of these lines. This off-center composition is naturally pleasing to the eye.
Leading Lines
Use natural lines in the landscape to lead the viewer’s eye into the image. Roads, paths, fences, and shorelines make great leading lines. Get low or high and shoot along the line to create depth and drama. Leading lines are a simple way to turn an everyday scene into a compelling landscape photo.
Symmetry and Patterns
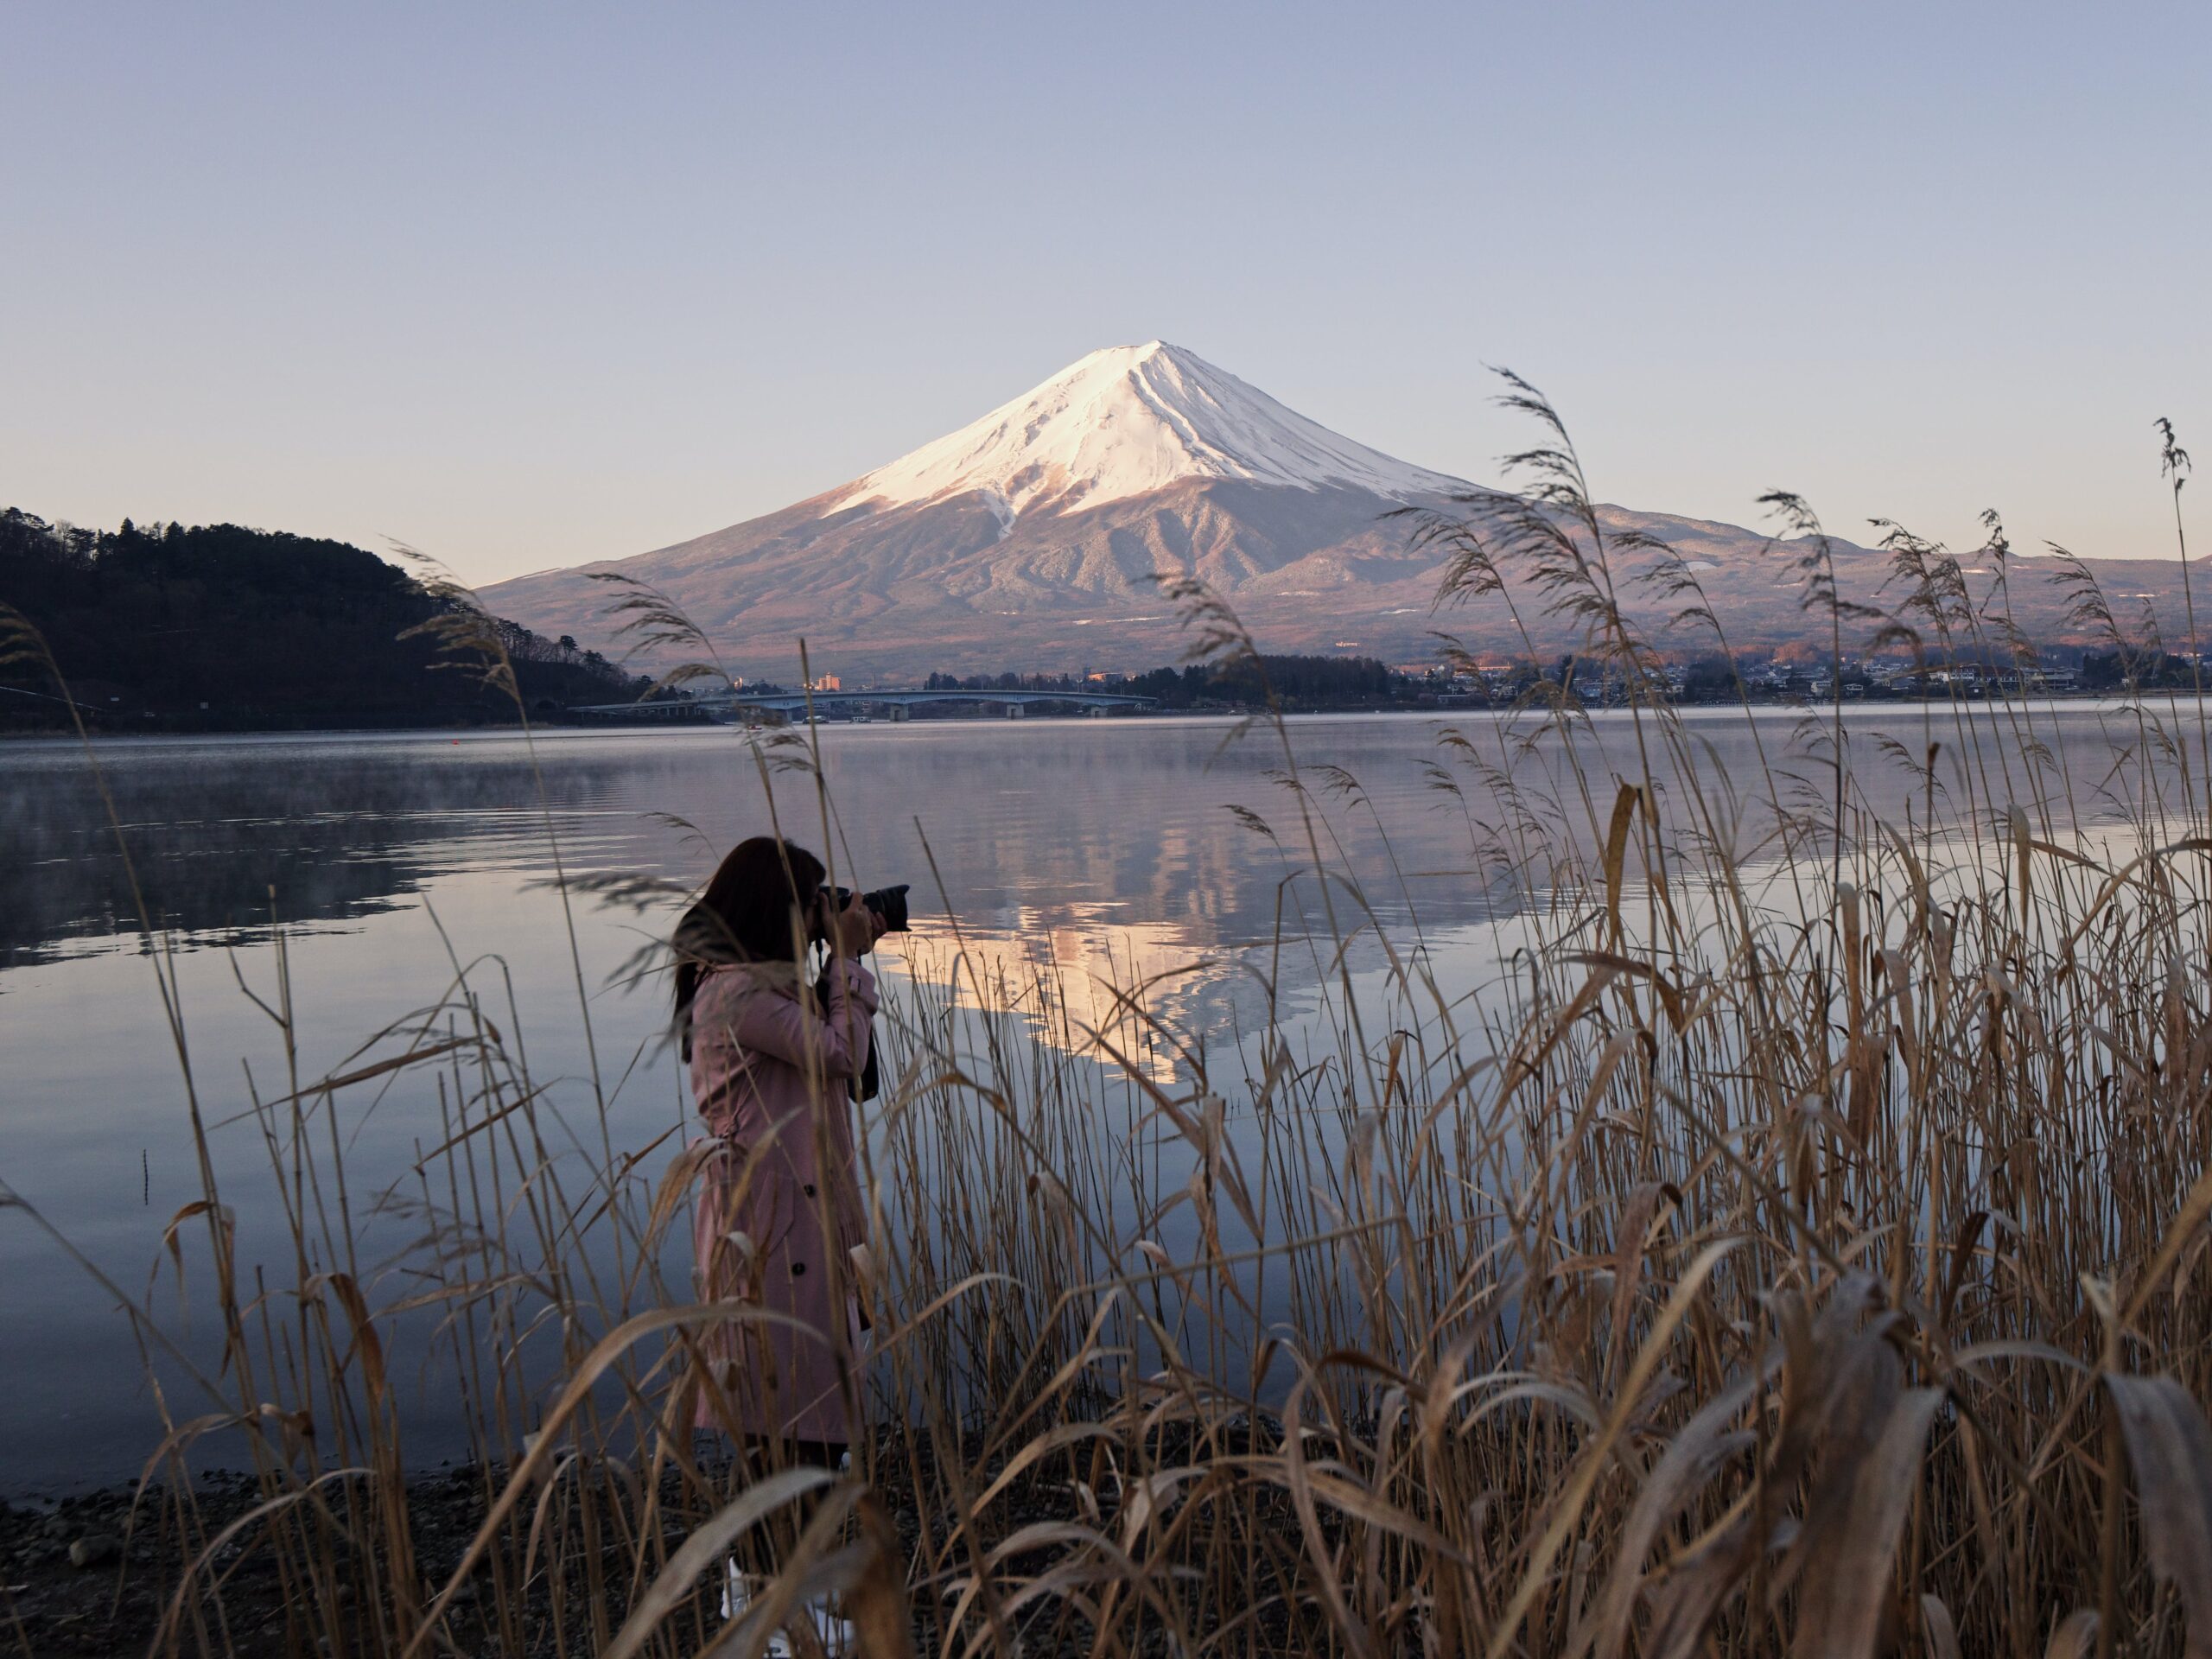
Our brains love symmetry and repeating patterns. Look for reflections in water or symmetrical mountain vistas and capture them head-on. Patterns can also be found in row crops, vineyards, or pine forests. Shoot straight into the pattern for maximum effect.
Frame within a Frame
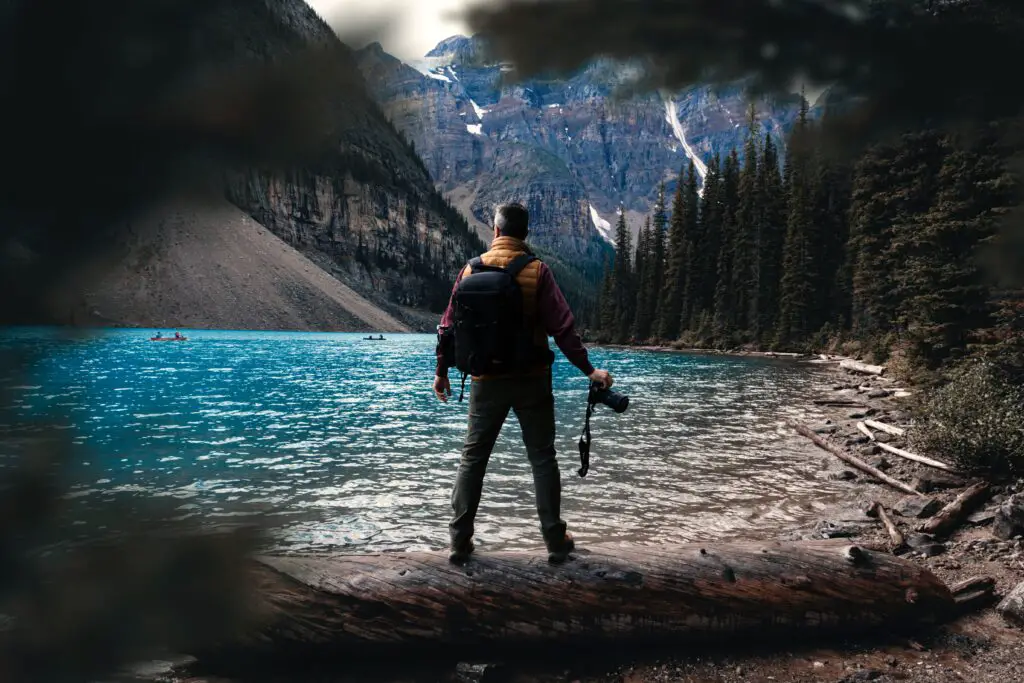
Creating a frame within your image is an easy way to produce an interesting composition. Look for natural frames like doorways, windows, overhanging branches or a hole in a rock. Position your main subject within that frame and shoot through it. The frame helps focus the viewer’s attention and adds layers of depth.
With some practice, composition and framing techniques will become second nature. Mix and match different styles – there are endless possibilities! Keep exploring, stay curious about your surroundings, and your landscape photos will become truly inspired works of art. Happy shooting!
Using Light and Weather to Your Advantage
As a nature photographer, light and weather are two of your most useful tools. I absolutely love capturing landscapes in ideal lighting conditions with dramatic weather – it makes for the most stunning shots!
Golden Hours
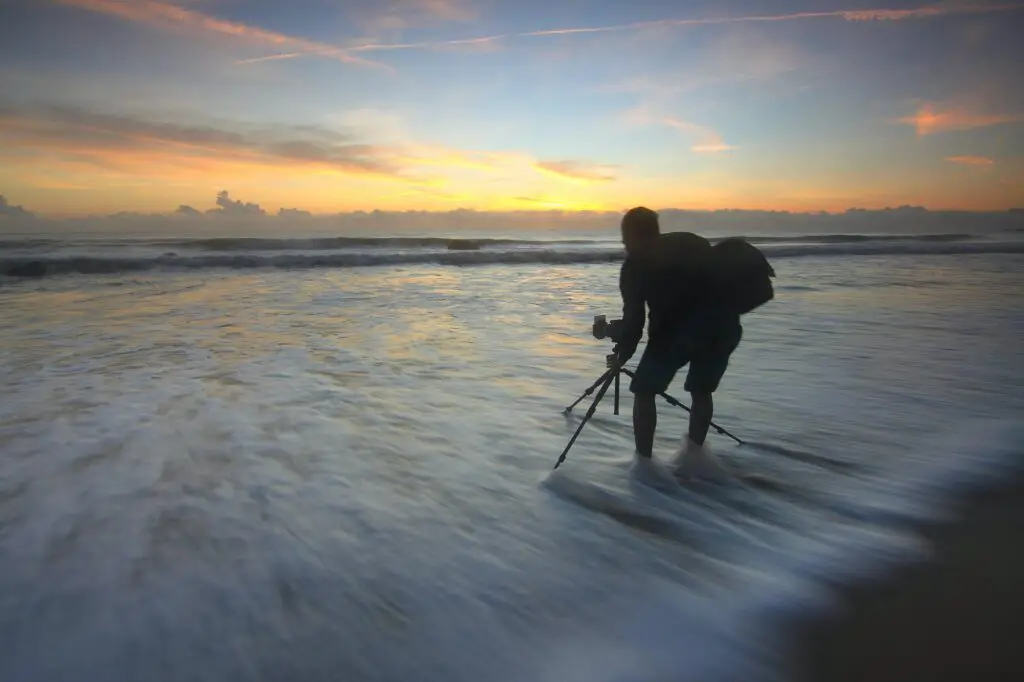
The early morning and evening golden hours are my favorite times to shoot. The soft, warm light creates a gorgeous glow that illuminates the landscape. During golden hour, the sun is low on the horizon, casting long shadows and enhancing textures. The contrast between light and shadows adds depth and drama to images. Get up early and stay out late to take advantage of this magical light.
Stormy Skies
There’s nothing quite like an ominous sky to create a moody landscape photo. Watch the weather and head out before a storm to catch the dark, brooding clouds as the roll in. The contrast between the stormy sky and landscape below conveys a sense of intensity. Capture lightning strikes for an epic shot, if you dare! The raw power and energy of a storm is a landscape photographer’s dream.
Fog and Mist
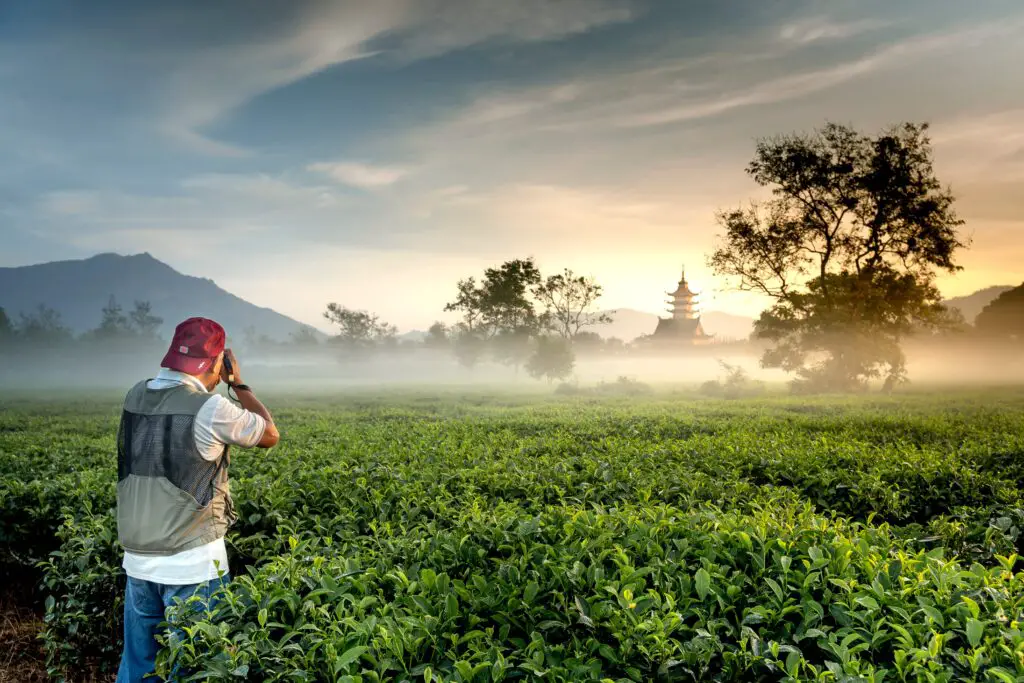
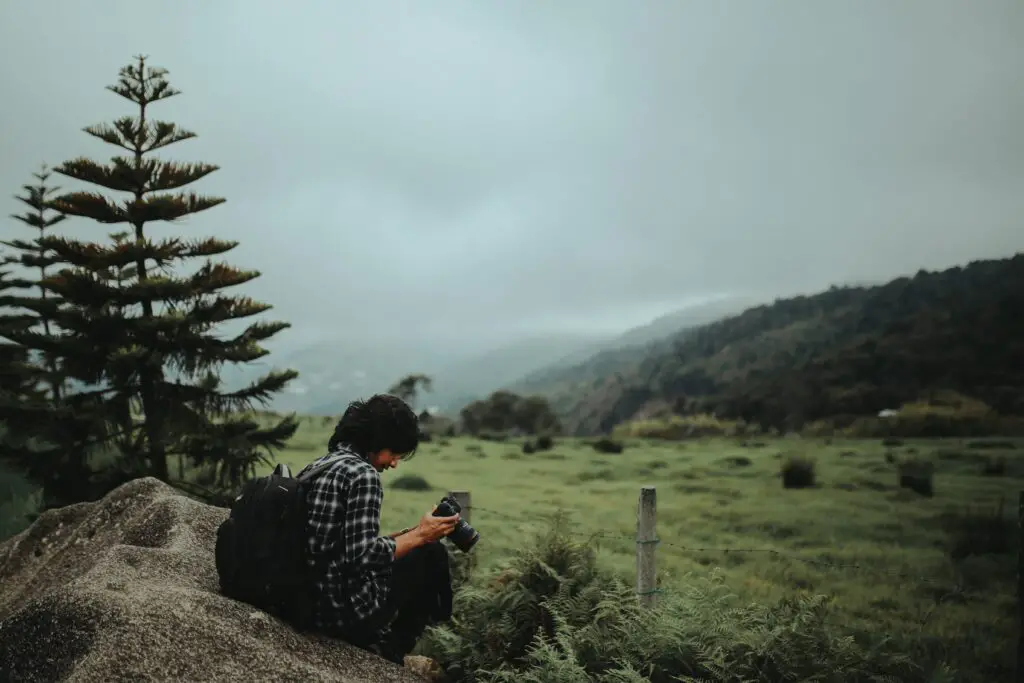
Fog and mist are atmospheric conditions that soften landscapes and provide a dreamy quality to images. As the tiny water droplets scatter the light, they create a soft, diffuse glow. Fog conceals and reveals, obscuring some details while highlighting others. Muted colors, hazy scenes and a sense of mystery are hallmarks of shooting in foggy weather. For the most dramatic shots, capture landscapes as the fog is lifting while there are still patches blanketing the scene.
By paying close attention to lighting and weather conditions, you’ll be setting yourself up for capturing stunning landscape shots. Waking before dawn, staying out after dusk, and venturing out in stormy weather may require some extra effort but the results will be well worth it. Mastering the use of natural light and atmospheric conditions will take your landscape photography to the next level!
Post-Processing Tips for Impactful Nature Photos
When I head out into nature with my camera, I always strive to capture the beauty and wonder around me. But the work doesn’t end when I get home—to make my landscape shots really pop, post-processing is a must! Here are a few of my favorite techniques:
Adjust color and tone
- Play around with the white balance to correct any color casts and bring out the natural hues. For vibrant sunsets or autumn foliage, a warm tone usually works well. For lush greenery, a cooler tone is often most natural.
- Adjust the tonal range using the histogram. Pull the highlights down to recover detail in the sky, lift the shadows to bring out textures in dark areas. This helps create a visually balanced and compelling image.
- Consider converting to black and white. Removing color can give striking landscape shots an artistic, dramatic flair. Adjust each color channel separately for the most impact.
Enhance sharpness and clarity
- Sharpen your image to make details like leaves, rocks, and tree bark razor sharp. Apply selective sharpening to focal points in the frame. Be careful not to oversharpen, which can result in a noisy, unnatural look.
- Increase clarity and texture using the “texture” or “clarity” slider. This improves local contrast in midtone areas, creating extra depth and dimension. Like sharpening, apply with a light hand.
- Use the adjustment brush to dodge and burn specific areas, highlighting points of interest or enhancing shadows. This helps guide the viewer’s eye through the image.
Straighten the horizon and crop
- Make sure your horizon is perfectly level. An uneven horizon is a dead giveaway that the image is amateur. Use the ruler or grid tools to line it up.
- Consider cropping the image for maximum impact and visual flow. The rule of thirds is a good guide, but sometimes an even tighter crop or an unusual aspect ratio works better for landscapes. Zoom in and pan around to find the most compelling crop.
With some practice, these techniques will become second nature and help you craft landscape shots that truly shine! Your nature photos will evoke the same sense of wonder and beauty that you felt being out in the thick of it.
Conclusion
Well, there you have it – my best tips for capturing stunning landscape photos on your next nature hike! I hope you feel energized to get out there with your camera and start snapping. Don’t forget to experiment with angles, weather conditions, and those magical golden hours. With practice, you’ll be amazed by the incredible shots you can capture.
Now get outside and start putting these tips to the test! The beautiful views are calling your name. I can’t wait to see all the gorgeous landscape photos you’ll be sharing soon. Just remember to have fun, be patient for the perfect shot, and let the incredible nature around you inspire your inner artist. Happy shooting, my photo-loving friends!
